If you’ve just started blogging and you’re about to publish your first blog post, you’re going to love this blog post outline. But, don’t worry, if you’ve been blogging for a while and you’re after a solution to write faster, you’ll benefit from this too.
In this post, I’ll share all my tips to create a great blog post outline. I’ll give you examples and templates to follow.
Creating an outline helps you write faster because you don’t have to stare at a blank page. It helps you create detailed quality content too. I’ve been using an outline for several years now and this is something I teach in my SEO course SEO from Scratch.
Without further ado, let’s get started on your blog post outline.
Step 1 – Keyword Research
The first thing to do is to think of a topic and do quick keyword research. If you’re not familiar with keywords and SEO, go read our guide to finding keywords.
When you do your keyword research, you know more about the competition and you’ll be able to know what type of content to create.
For example, when writing this article, I knew that the reader expects to see a guide with steps and examples.
Step 2 – Write a List of Keywords to Target
When you discover great keywords with low competition, you can write them down at the top of your document. This way, when you write your blog post, you can remember to use different variations of your keywords.
For example, when creating this blog post, I had a list of 5 keywords at the top of my document as well as another list of related keywords on my second screen.
Step 3 – Take a Look at the Current Results
Out of all the keywords written on your list, you can pick one as the main keyword. This keyword will be part of your title, URL and you should mention it a few times within the content.
Then, you can head to Google, type the main keyword in the search bar, and click on the 10 first results to see how long their content is and to check what’s missing. The goal here is to write better content than them.
When you know your competition, it’s easier to create an outline that can beat your competitors.
Step 4 – Make a List of Headings
Once you have a clear idea of how to beat the competition, you can go ahead and make a list of headings. These headings will help you write the content in the right order to create in-depth content.
At any point, you can add more headings to your blog post outline.
The idea here is to make it scannable, easy to follow, and clear for the reader.
Step 5 – Write Introduction
Then, once your headings are in order on your document, you can start writing your draft. Remember to take a look at your keyword list. Your main keyword should be mentioned at the beginning of your introduction.
When I write my introduction, I always keep in mind who is my ideal reader. The goal here is to write as if you were having a private conversation with your reader.
Step 6 – Write the Content
Once you’re happy with your introduction, you can start filling the blanks between your headings. Each section should be short and easy to read. You can add more headings if needed.
For example, if you write a guide, each step should have its own section. If you write a travel itinerary, you could divide it by day or activity.
Step 7 – Write the Conclusion
Then, you can write down your final thoughts on your blog topic or conclusion. In this section, you can add a call-to-action so you can direct the reader somewhere else. You could recommend related articles, ask them to subscribe to your newsletter or ask them to leave a comment.
Step 8 – Add Related Questions (Optional)
If you feel like the reader might have more questions related to the blog topic, you can add related questions. A great way to find ideas for this section is to head to Google, type your keyword, and look at the frequently asked questions.
Write them down and answer them better than your competitors.

Step 9 – Create the Title
The last step is to write down your final title. Note that you can pick the title at any point, but personally, I keep this for the end. As I always use SEO strategies, I’ll make sure the title is SEO-friendly and not too long.
Sometimes, Google will shorten titles or truncate them, so I like to keep them short and tidy. You can use this free tool to preview the title and result on Google.

Keep reading if you want to see a blog post outline example as well as templates.
Blog Post Outline Example
This was the outline for the article you’re currently reading.
H1: Title
Introduction
H2: Step 1 – Keyword Research
H2: Step 2 – Write a List of Keywords to Target
H2: Step 3 – Take a Look at the Current Results
H2: Step 4 – Make a List of Headings
H2: Step 5 – Write Introduction
H2: Step 6 – Write the Content
H2: Step 7 – Write the Conclusion
H2: Step 8 – Add Related Questions
H2: Step 9 – Create the Title
H2: Blog Post Outline Example
H2: Blog Post Outline Templates
H2: Final Thoughts
Blog Post Outline Template
Now if you need blog post outline templates, you can download mine here.
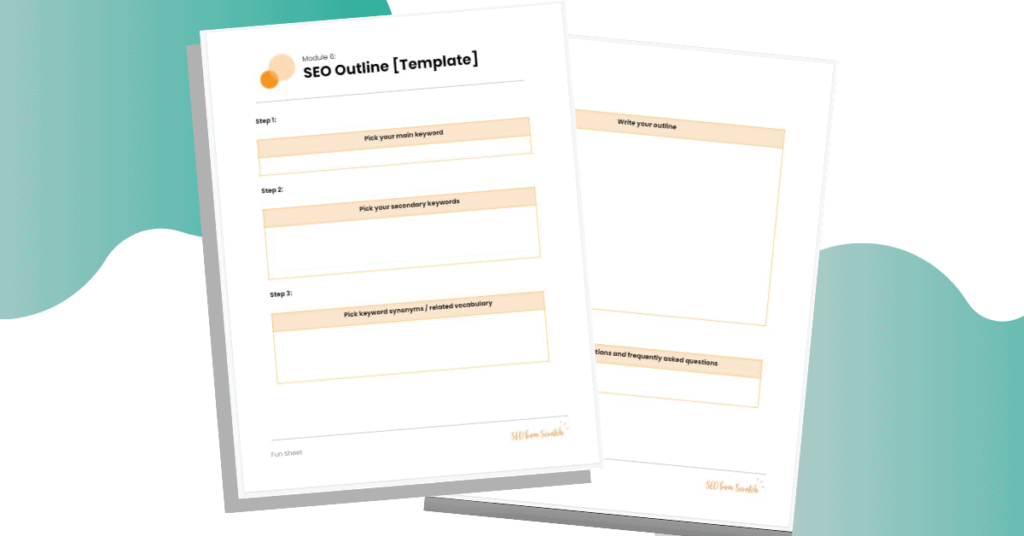
This blog post outline template is the one we use in SEO from Scratch – our SEO course for bloggers. The template includes a section for keywords, for the content, and for related questions.
Final Thoughts On Blog Post Outline Template
Writing a great blog post is definitely easier when you have a solid blog post outline. You’ll write faster and you’ll be able to deliver high-quality content that can beat the competition.
This is a step I use when implementing SEO strategies to ensure my content ranks on Google.
Alternatively, if you’re busy, you could outsource the keyword research. Join our program Monthly Keyword Research Done For You – made for bloggers.
Wondering why posting to a blog regularly is important? Because the more you have content, the more keyword opportunities you can target. As a result, you’ll have more readers.
Want to learn more about blogging? Read one of the following guides: